Booking choice: The small-group tour with pro photos, from $165 per person. Check dates Tour details
Ten years ago, the northern lights on a phone looked like a black rectangle with a green smear. Today's night modes stack many frames into one, and on a tripod they can expose for many seconds. The camera often sees colour your eyes don't, because it gathers light for seconds while your eyes take it in a fraction of a second at a time.
Below: how night mode works on each brand, the manual settings that guides teach on the bus, why a tripod matters more than the phone, and how to get yourself in the picture.
The quick answer
Yes, you can photograph the northern lights with a phone. Put it on a tripod or a steady surface, turn the flash off, and use Night mode: on an iPhone, tap the moon icon and drag the timer to the maximum (up to 30 seconds on a tripod); on a Pixel, use Night Sight and let it switch to astrophotography; on a Samsung, use Pro mode at about 10 seconds with focus on infinity. Shorten the exposure if the lights move fast.
Can you photograph the northern lights with a phone?
Yes. Any phone with a night mode can capture the aurora on a dark, clear night, and on a tripod the results are often better than what you see with your eyes.
Visit Iceland says newer iPhone and Android models often have a Night mode that picks longer exposures automatically. Three things make or break the shot: keeping the phone still, focusing at infinity and getting away from street lights. The phone model matters less.
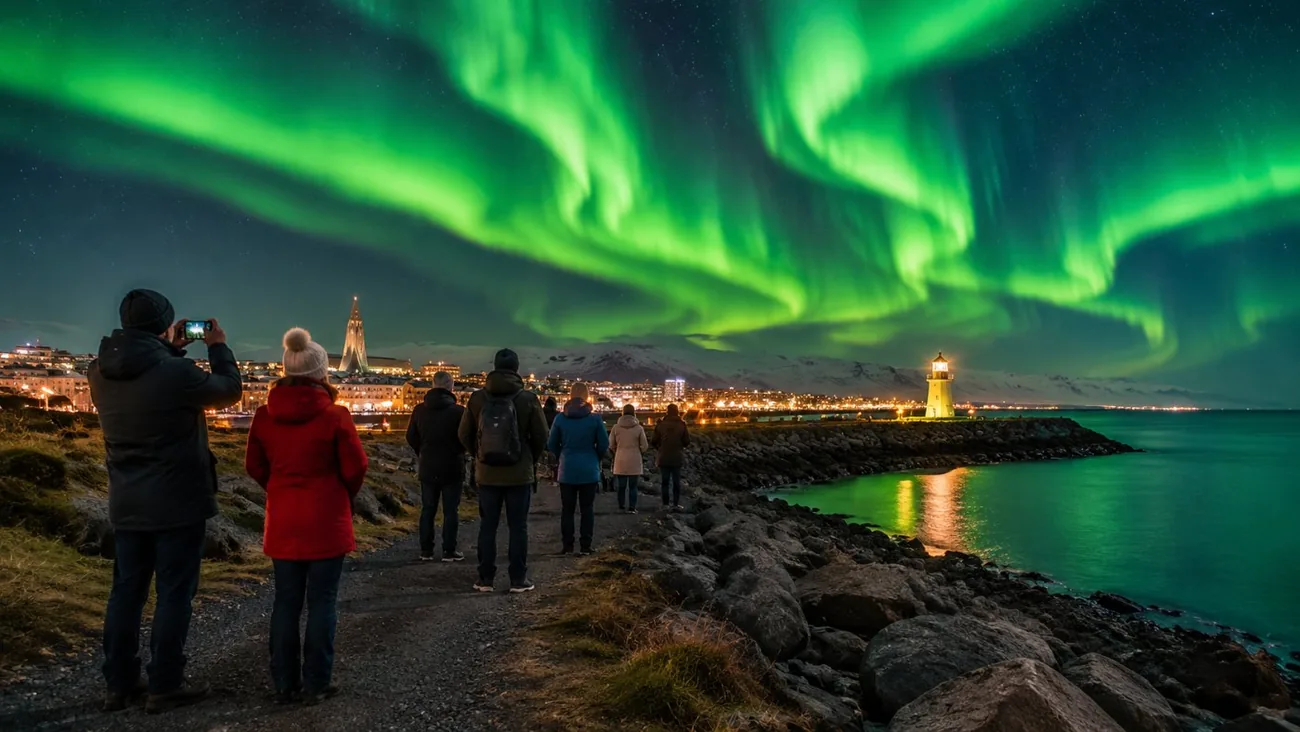
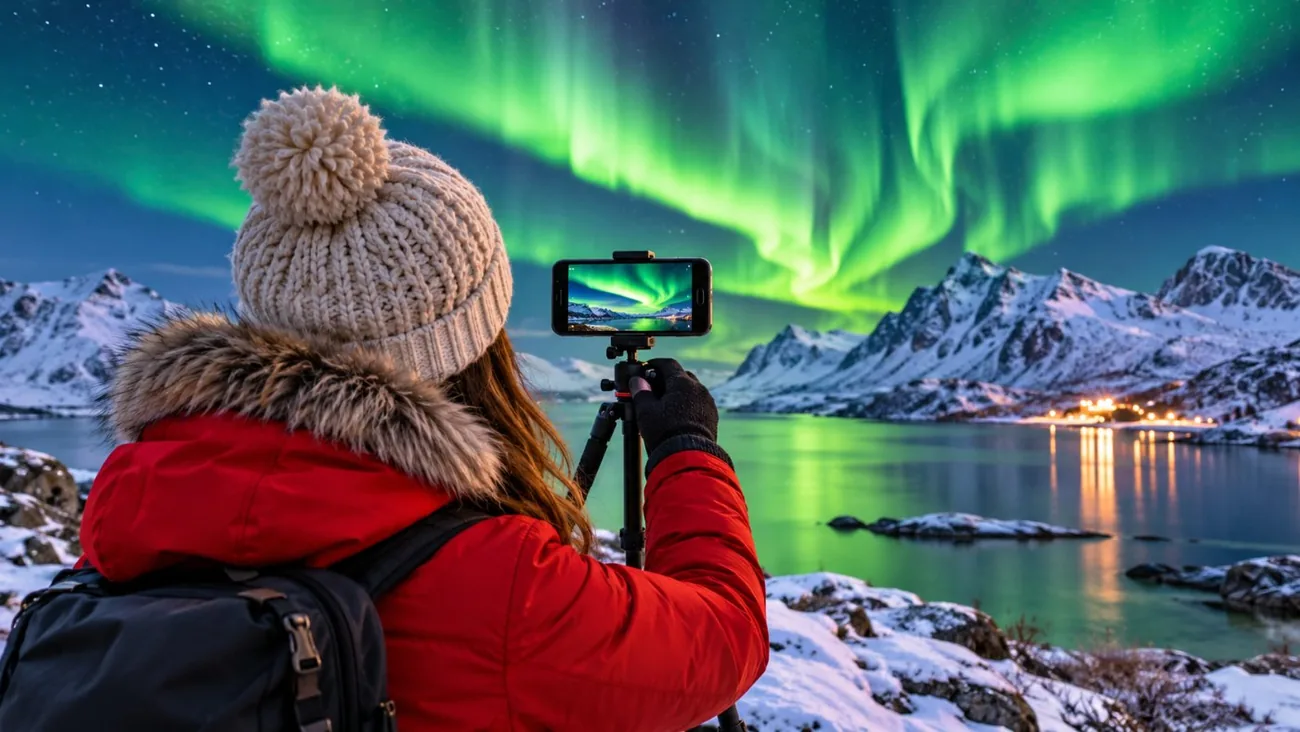
Expect the photo to look greener and brighter than the sky did. That's normal. A faint grey arch can come out as a clear green band, which is also how many people discover there was an aurora at all. A yacht guest recalled that the guide "spent time with us on how to change our phone settings", and on most tours someone will help if you ask.
What are the best phone settings for the northern lights?
Flash off, Night mode on, longest exposure your phone allows on a tripod, focus at infinity. With manual control: about 10 seconds, a high ISO, and white balance around 3,500 to 4,500K.
Start here and adjust after each shot:
| Phone | Mode | Exposure | Focus | Tip |
|---|---|---|---|---|
| iPhone 11 and later | Night mode (automatic) | Tap the moon icon, slide to Max: up to 30 s on a tripod | Tap and hold on a distant light to lock | Turn off Live Photo and flash |
| Google Pixel | Night Sight | Switches to astrophotography when the phone is still | Automatic; zoom at 1x or more | Shoot 45 to 90 minutes after sunset or later |
| Samsung Galaxy | Pro mode (or Night mode) | About 8 to 15 s | Manual, at infinity | Set ISO by hand; Auto ISO is off with a manual shutter |
| Any phone | Third-party app | 10 to 15 s | Infinity | NightCap, ProCamera, Slow Shutter (iOS), ProCam X Lite (Android) |
Visit Iceland suggests around 10 to 15 seconds with manual controls, shorter when the aurora moves fast, and RAW if your phone allows it. Long exposures blur fast curtains into a smooth glow; 3 to 5 seconds keeps the shape. White balance is a matter of taste. Lower kelvin gives a bluer sky, higher a warmer one.
How do you use iPhone Night mode for the northern lights?
Put the iPhone on a tripod, turn off the flash, tap the yellow moon icon, drag the slider to the maximum, and use the timer so your finger doesn't shake it. Up to 30 seconds is possible when the phone is still.
Night mode turns on by itself in the dark, on iPhone 11 and later. According to MacRumors' guide, it works in 1 to 30 second steps depending on steadiness and light, and you need a tripod for the full 30 seconds. Hand-held, it picks much shorter times.
- Mount the phone and frame the shot with a bit of land at the bottom.
- Flash off. Live Photo off, if you want a crisp still.
- Tap and hold on a distant light or star to lock focus and exposure.
- Tap the moon icon and drag the slider to Max.
- Set a 3-second self-timer and press the shutter. Don't touch the phone until it finishes.
Night mode on the ultra-wide lens only came with later models, so if the 0.5x button looks blurry in the dark, go back to 1x.
How do you photograph the aurora on a Pixel or Samsung?
On a Pixel, choose Night Sight and keep the phone still: it switches to astrophotography on its own. On a Samsung, open Pro mode, set the shutter to about 10 seconds, raise ISO by hand and set focus to infinity.
Google Pixel. Google's help page says to open Night Sight, put the phone on a stand or a tripod and not use your hands. The shutter switches to Astrophotography automatically once the phone is still. With no tripod, prop the phone on a steady surface; a 5-second timer starts and a sound tells you when it's done. On Pixel 4a (5G) and later, astrophotography only works at 1x zoom or more.
Samsung Galaxy. Open the camera, tap Mode (or More) and choose Pro. Set the shutter speed first; Samsung notes that ISO can't stay on Auto once you do. Try 10 seconds and ISO 800, then go up if the frame is dark. Switch focus to manual and drag it to the mountain icon (infinity). Set white balance near 4,000K. Night mode also works, but Pro mode gives you control of the exposure.
Do you need a tripod to photograph the northern lights with a phone?
For good photos, yes. A small phone tripod costs little and lets the phone expose for 10 to 30 seconds. Without one, brace the phone on a rock, a car roof or your bag.
Even slight movement blurs a long exposure. Visit Iceland recommends a sturdy compact tripod, and hanging a weight from its hook in wind. Iceland's wind is the main enemy: a flimsy tripod on a bare hillside wobbles. Keep it low, spread the legs wide, and stand upwind of it.
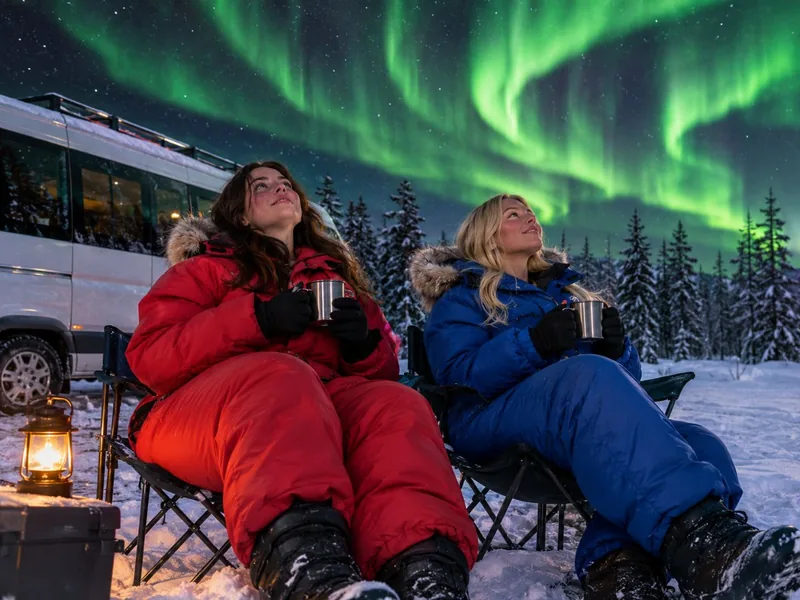
Some tours bring their own. The snowsuit small-group tour sets up tripods and chairs on location, and its photographer helps with camera settings. Gray Line recommends bringing a tripod on its coach tour.
Why does the camera see more colour than your eyes?
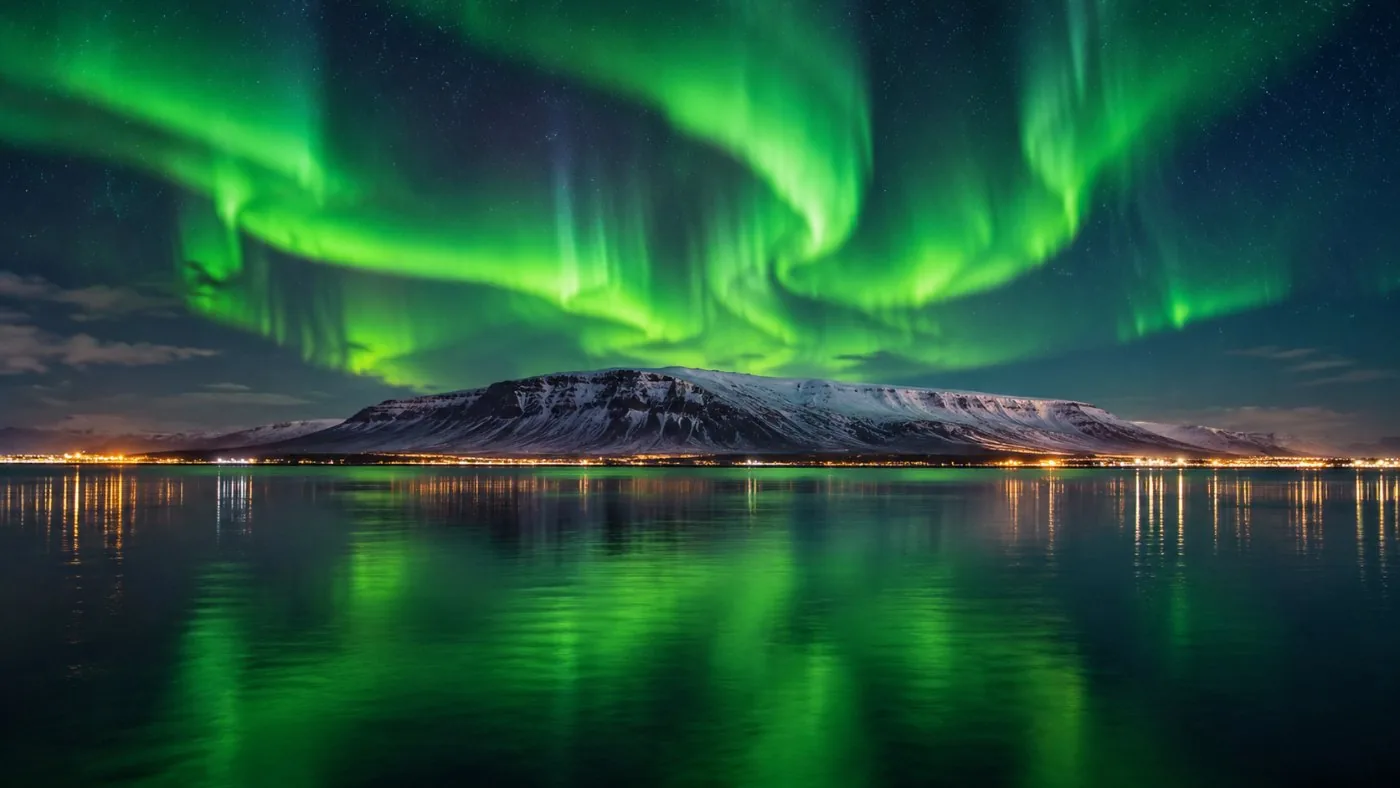
Your eyes are poor at seeing colour in the dark, and they refresh constantly. A phone gathers light for seconds and adds it up, so faint green, and sometimes red and purple, comes out strong.
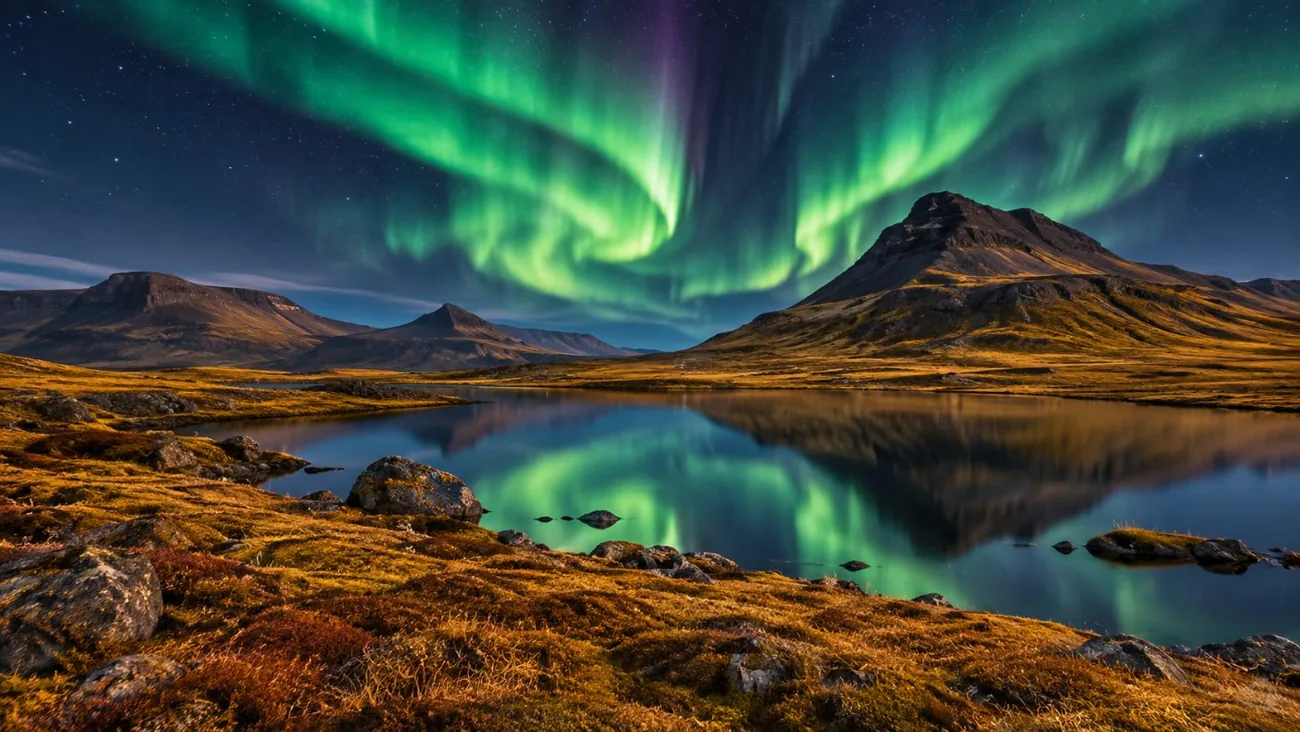
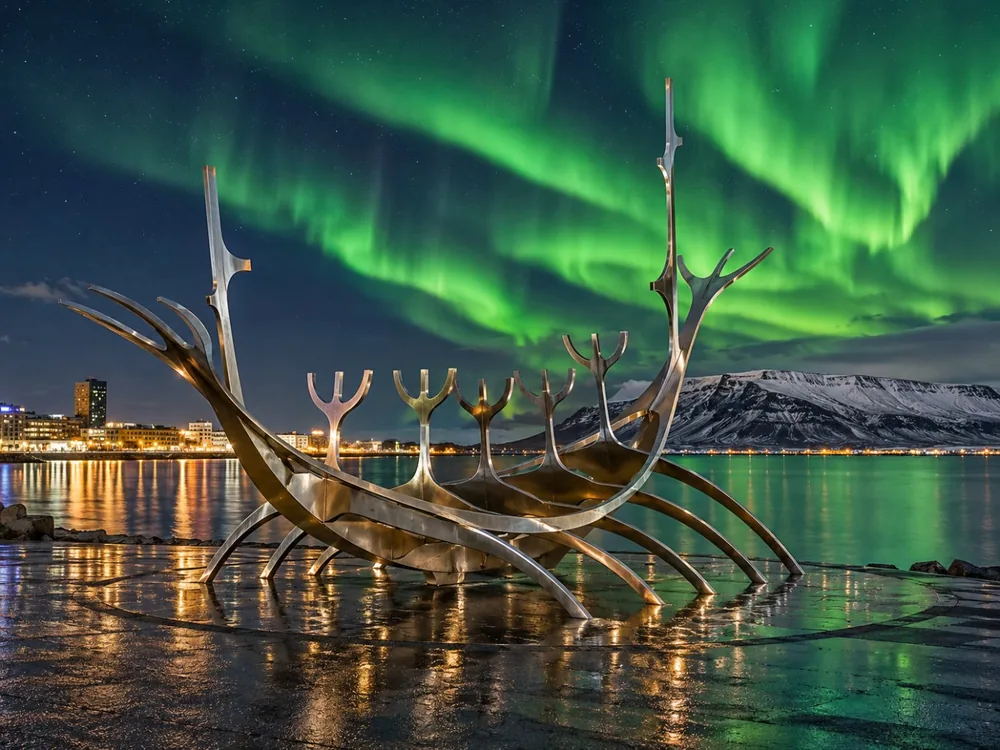
On a faint night, the aurora can look like a pale grey cloud to the eye and a clear green arc on the screen. On a strong night, both agree. Red and purple at the top of a display are often easier for the camera to pick up than for you.
That gap has two lessons. Test-shoot any pale arch you are unsure of. And then put the phone down and watch. The best displays come in bursts of a few minutes, and staring at a screen for all of it is a common regret.
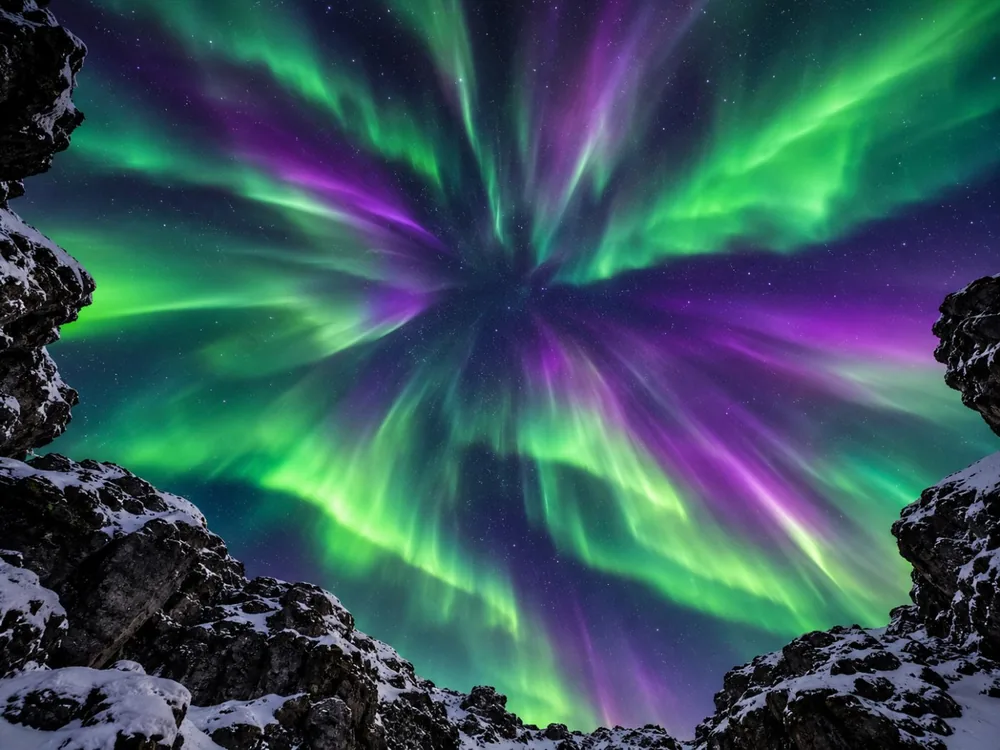
How do you get a photo of yourself under the northern lights?
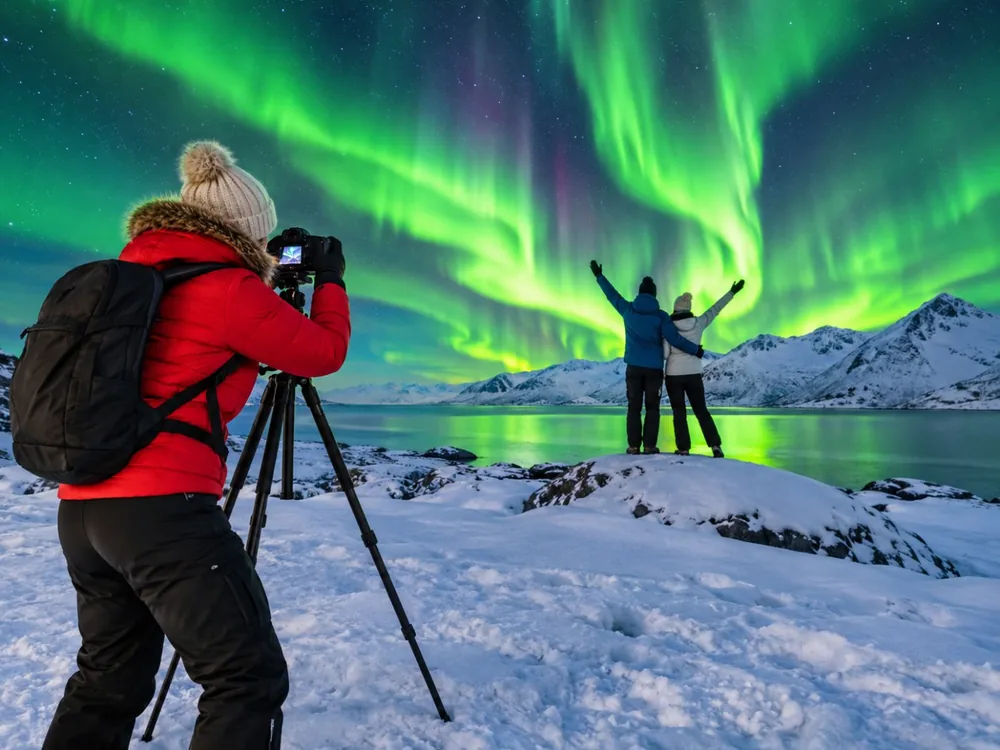
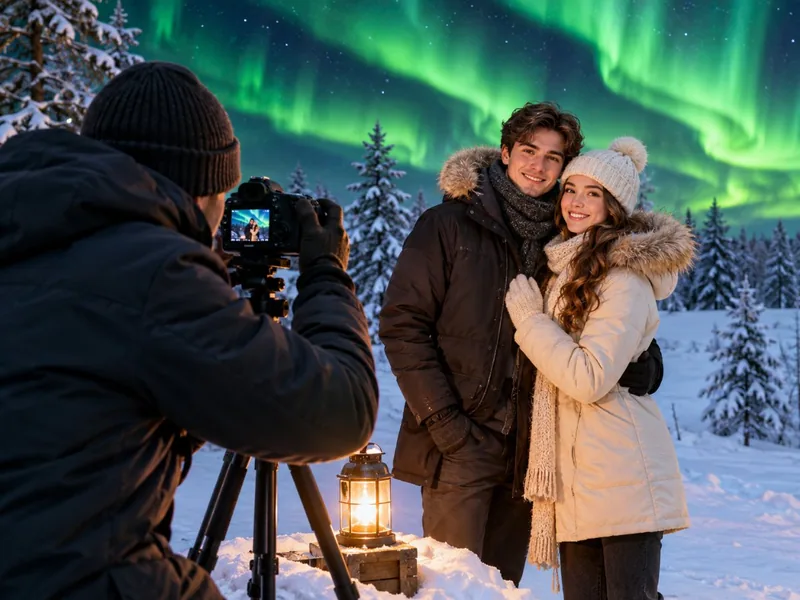
Stand still for the whole exposure, three to five seconds, while a friend or the timer takes the shot, and light your face for a second with a dim torch. Or book a tour that includes photos.
Use a shorter exposure than for the sky alone, around 3 to 5 seconds, so you don't blur. Stand a few metres from the phone, lock the focus on the horizon behind you, and count. A quick flick of a dim light on your face for half a second is enough; a phone flash on full power ruins the sky.
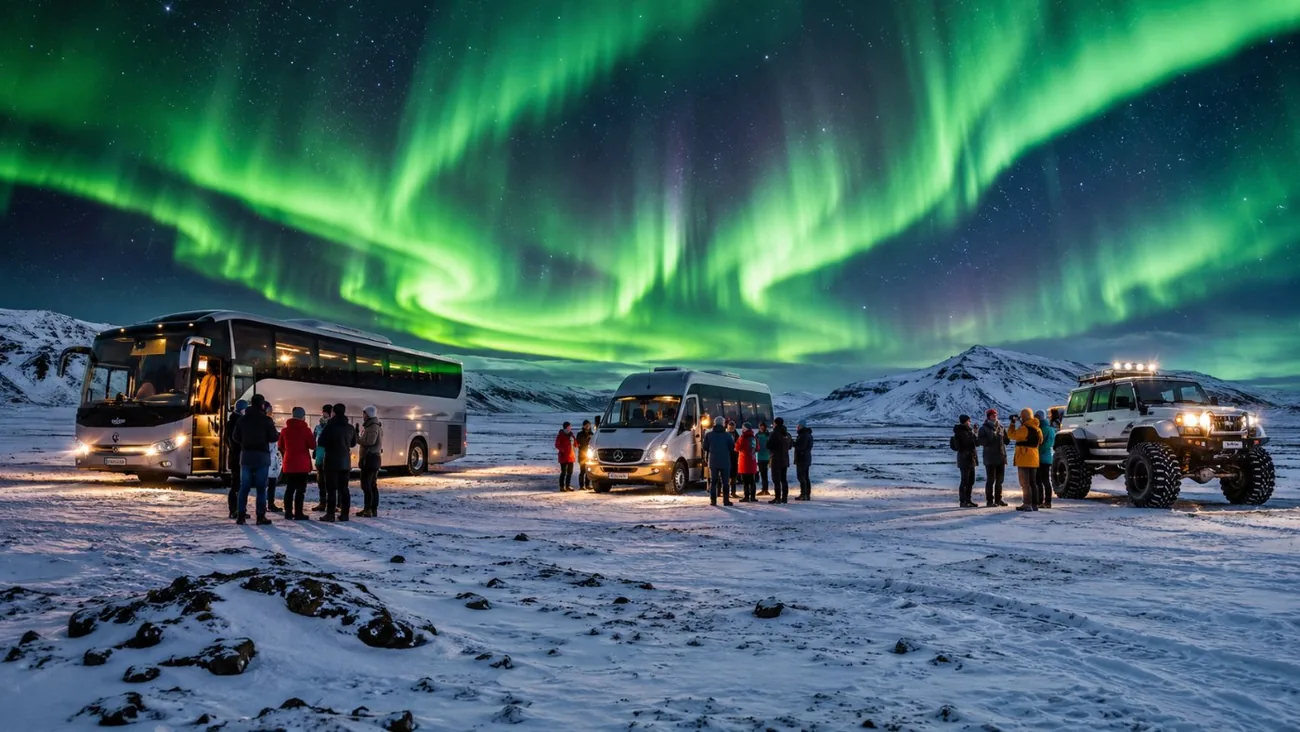
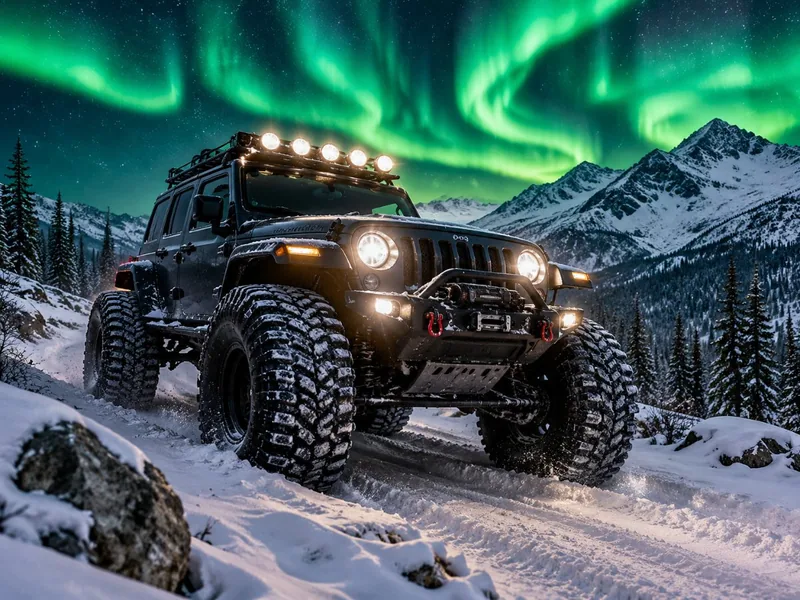
The easier route is a tour where the guide does it. The 4x4 tour includes photos of you under the lights; the super jeep includes free northern lights photos; the snowsuit tour has a professional photographer and sends edited photos within 48 hours. The small-group tour with pro photos has the photos in its title; check what's included on the listing before paying.
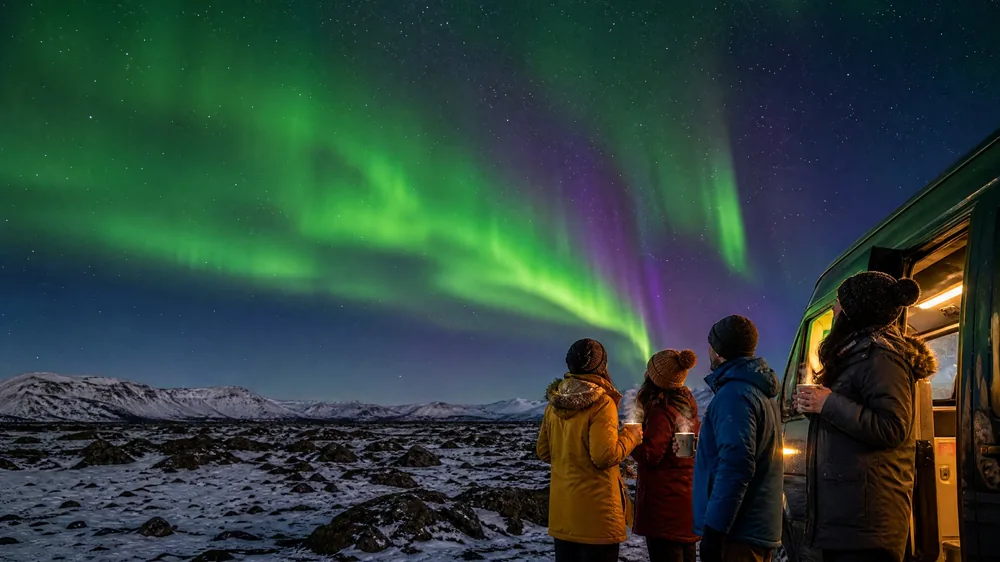
A small-group minibus hunt with pro photos and a free retry in the listing title, rated 4.8 from 456 reviews.
Explore the small-group tour with pro photos Tour detailsWhat should you bring to photograph the northern lights in Iceland?
A charged phone and a power bank, a mini tripod, gloves you can use a screen with, and a red light. Cold drains phone batteries fast.
- Power bank: Visit Iceland warns that cold drains batteries quickly. Keep the phone in an inside pocket between shots.
- Mini tripod or clamp: the single biggest upgrade.
- Thin touchscreen gloves under mittens.
- Dim screen and a red light: a bright screen ruins your night vision and the shot of the person next to you.
- Practice at the hotel: find Night mode, the timer and manual focus in daylight. Cold fingers in the dark are a bad time to learn.
For when and where to go, read the best time to see the lights and the city spots guide.
Your photo under the lights is included on the 4x4 tour, with cocoa, pastries and a two-year free retry.
Check dates for the 4x4 aurora tourFrequently asked questions
Can an iPhone capture the northern lights?
Yes. Any iPhone from the iPhone 11 on has Night mode, which can expose for up to 30 seconds on a tripod. Turn off the flash and lock the focus on a distant point.
What shutter speed should I use for the aurora on a phone?
About 10 to 15 seconds for a slow, faint aurora, 3 to 5 seconds for fast-moving curtains or a portrait. Shorter keeps the shape; longer brightens a faint display.
Why are my northern lights photos blurry?
Usually the phone moved or the focus hunted in the dark. Use a tripod or a steady surface, a self-timer, and lock the focus on a distant light or set it to infinity.
Do I need a camera app to photograph the northern lights?
No. The built-in Night mode on iPhone, Night Sight on Pixel and Pro mode on Samsung all work. Apps such as NightCap or ProCam X Lite add manual control on phones that lack it.
Ready to book
Choose your tour
Free cancellation up to 24 hours before on every option. Prices are from-prices in USD and move with the season.
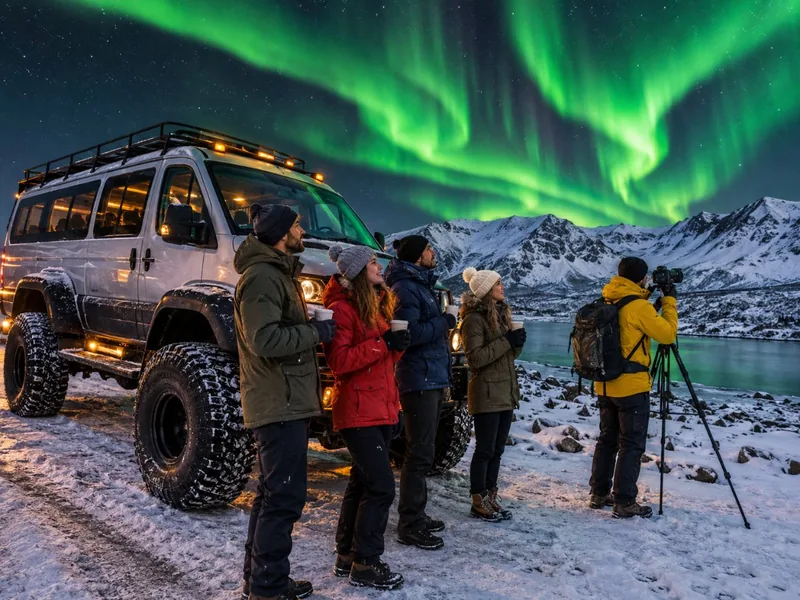
Northern Lights 4x4 Tour with Hot Cocoa
- Pickup and drop-off in Reykjavík (28 pickup points)
- Specially modified 4x4 minibus, Wi-Fi on board
- Hot chocolate, Icelandic pastries and 2 hand warmers
Northern Lights Tour with Snowsuit & Photos
Snowsuits, chairs and a photographer, with few reviews so far
Northern Lights Super Jeep Tour
Big tyres for tracks a bus cannot take, retries valid 3 years